Download and configure ChromeDriver in Windows


This is a simple guide to get chromedriver setup in Windows to start using all the benefits of test automation.
Step-by-step guide:
ChromeDriver is a separate executable that Selenium WebDriver uses to control Chrome. It is maintained by the Chromium team with help from WebDriver contributors. If you are unfamiliar with Selenium WebDriver, you should check out the Selenium site.
Follow these steps to set up your tests for running with ChromeDriver:
- Ensure Chromium/Google Chrome is installed. It is important to know what is the version running.
- Download the ChromeDriver binary for your platform under the downloads section.
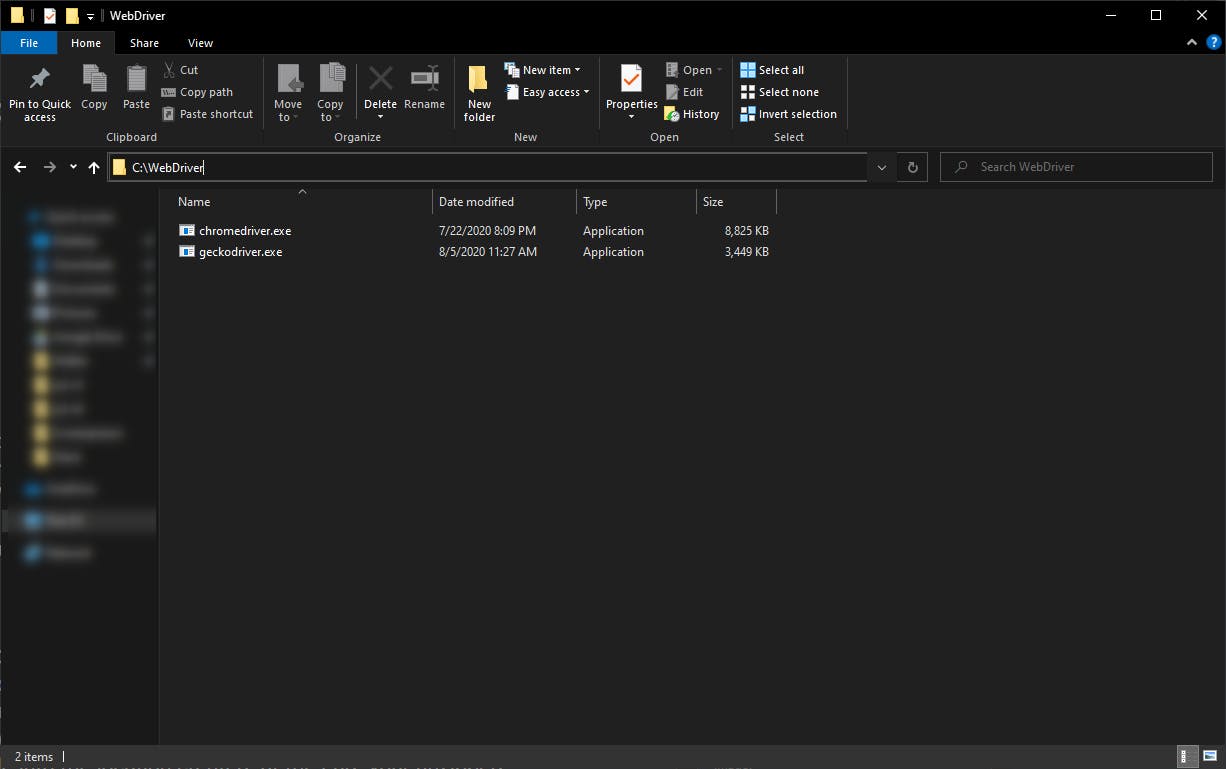
- Once downloaded, create a new folder under C drive to unzip the file there. A valid location would be
C:\WebDriver. - Unzip the executable file into the location created, at the end, your unzipped executable location should look like this:
- Now, let's configure the environment variable. In the Windows search bar, or after clicking on the start button, type "environment variables", the option you should click is "Edit the system environment variables"
- Once the "System Properties" window is open, click on the "Environment Variables..." button
- In the "Environment Variables" window, section "System variables", find the "Path" variable, and click on the "Edit..." button.
- In the "Edit environment variable" window, click on the "New" button. This will add a new line, and there you'll need to add the path of the chrome driver, from step 4.
- When you are done, just click OK in all windows to save the changes.
- To validate it is working, just open a PowerShell console, and type
chromedriver --version, it should display the version with success.